# Install tailscale and Pi Hole on Debian 11 Bullseye
- Canonical URL: https://leandeep.com/install-tailscale-and-pi-hole-on-debian-11-bullseye/
- Author: Olivier Eeckhoutte
- Published: 2024-02-24T18:10:00Z
- Updated: 2024-02-24T18:10:00Z
- Language: fr
- Tags: VPN, Linux
- License: CC BY-NC 4.0 (https://creativecommons.org/licenses/by-nc/4.0/)
In this short article we are going to see the commands to install Tailscale (and PiHole) on a Raspberry Pi version 2 and Debian 11 Bullseye (or Raspios equivalent of Debian 11).
**Pré-requis**
- A Raspberry Pi 2 connected to internet
- A fresh Debian 11 installation
**OS preparation**
```
sudo apt update
sudo apt upgrade -y
# Grab a large coffee. It takes forever...
sudo reboot
sudo apt install curl -y
```
**Pi Hole installation**
```
curl -sSL https://install.pi-hole.net | bash
.;;,.
.ccccc:,.
:cccclll:. ..,,
:ccccclll. ;ooodc
'ccll:;ll .oooodc
.;cll.;;looo:.
.. ','.
.',,,,,,'.
.',,,,,,,,,,.
.',,,,,,,,,,,,....
....''',,,,,,,'.......
......... .... .........
.......... ..........
.......... ..........
......... .... .........
........,,,,,,,'......
....',,,,,,,,,,,,.
.',,,,,,,,,'.
.',,,,,,'.
..'''.
```
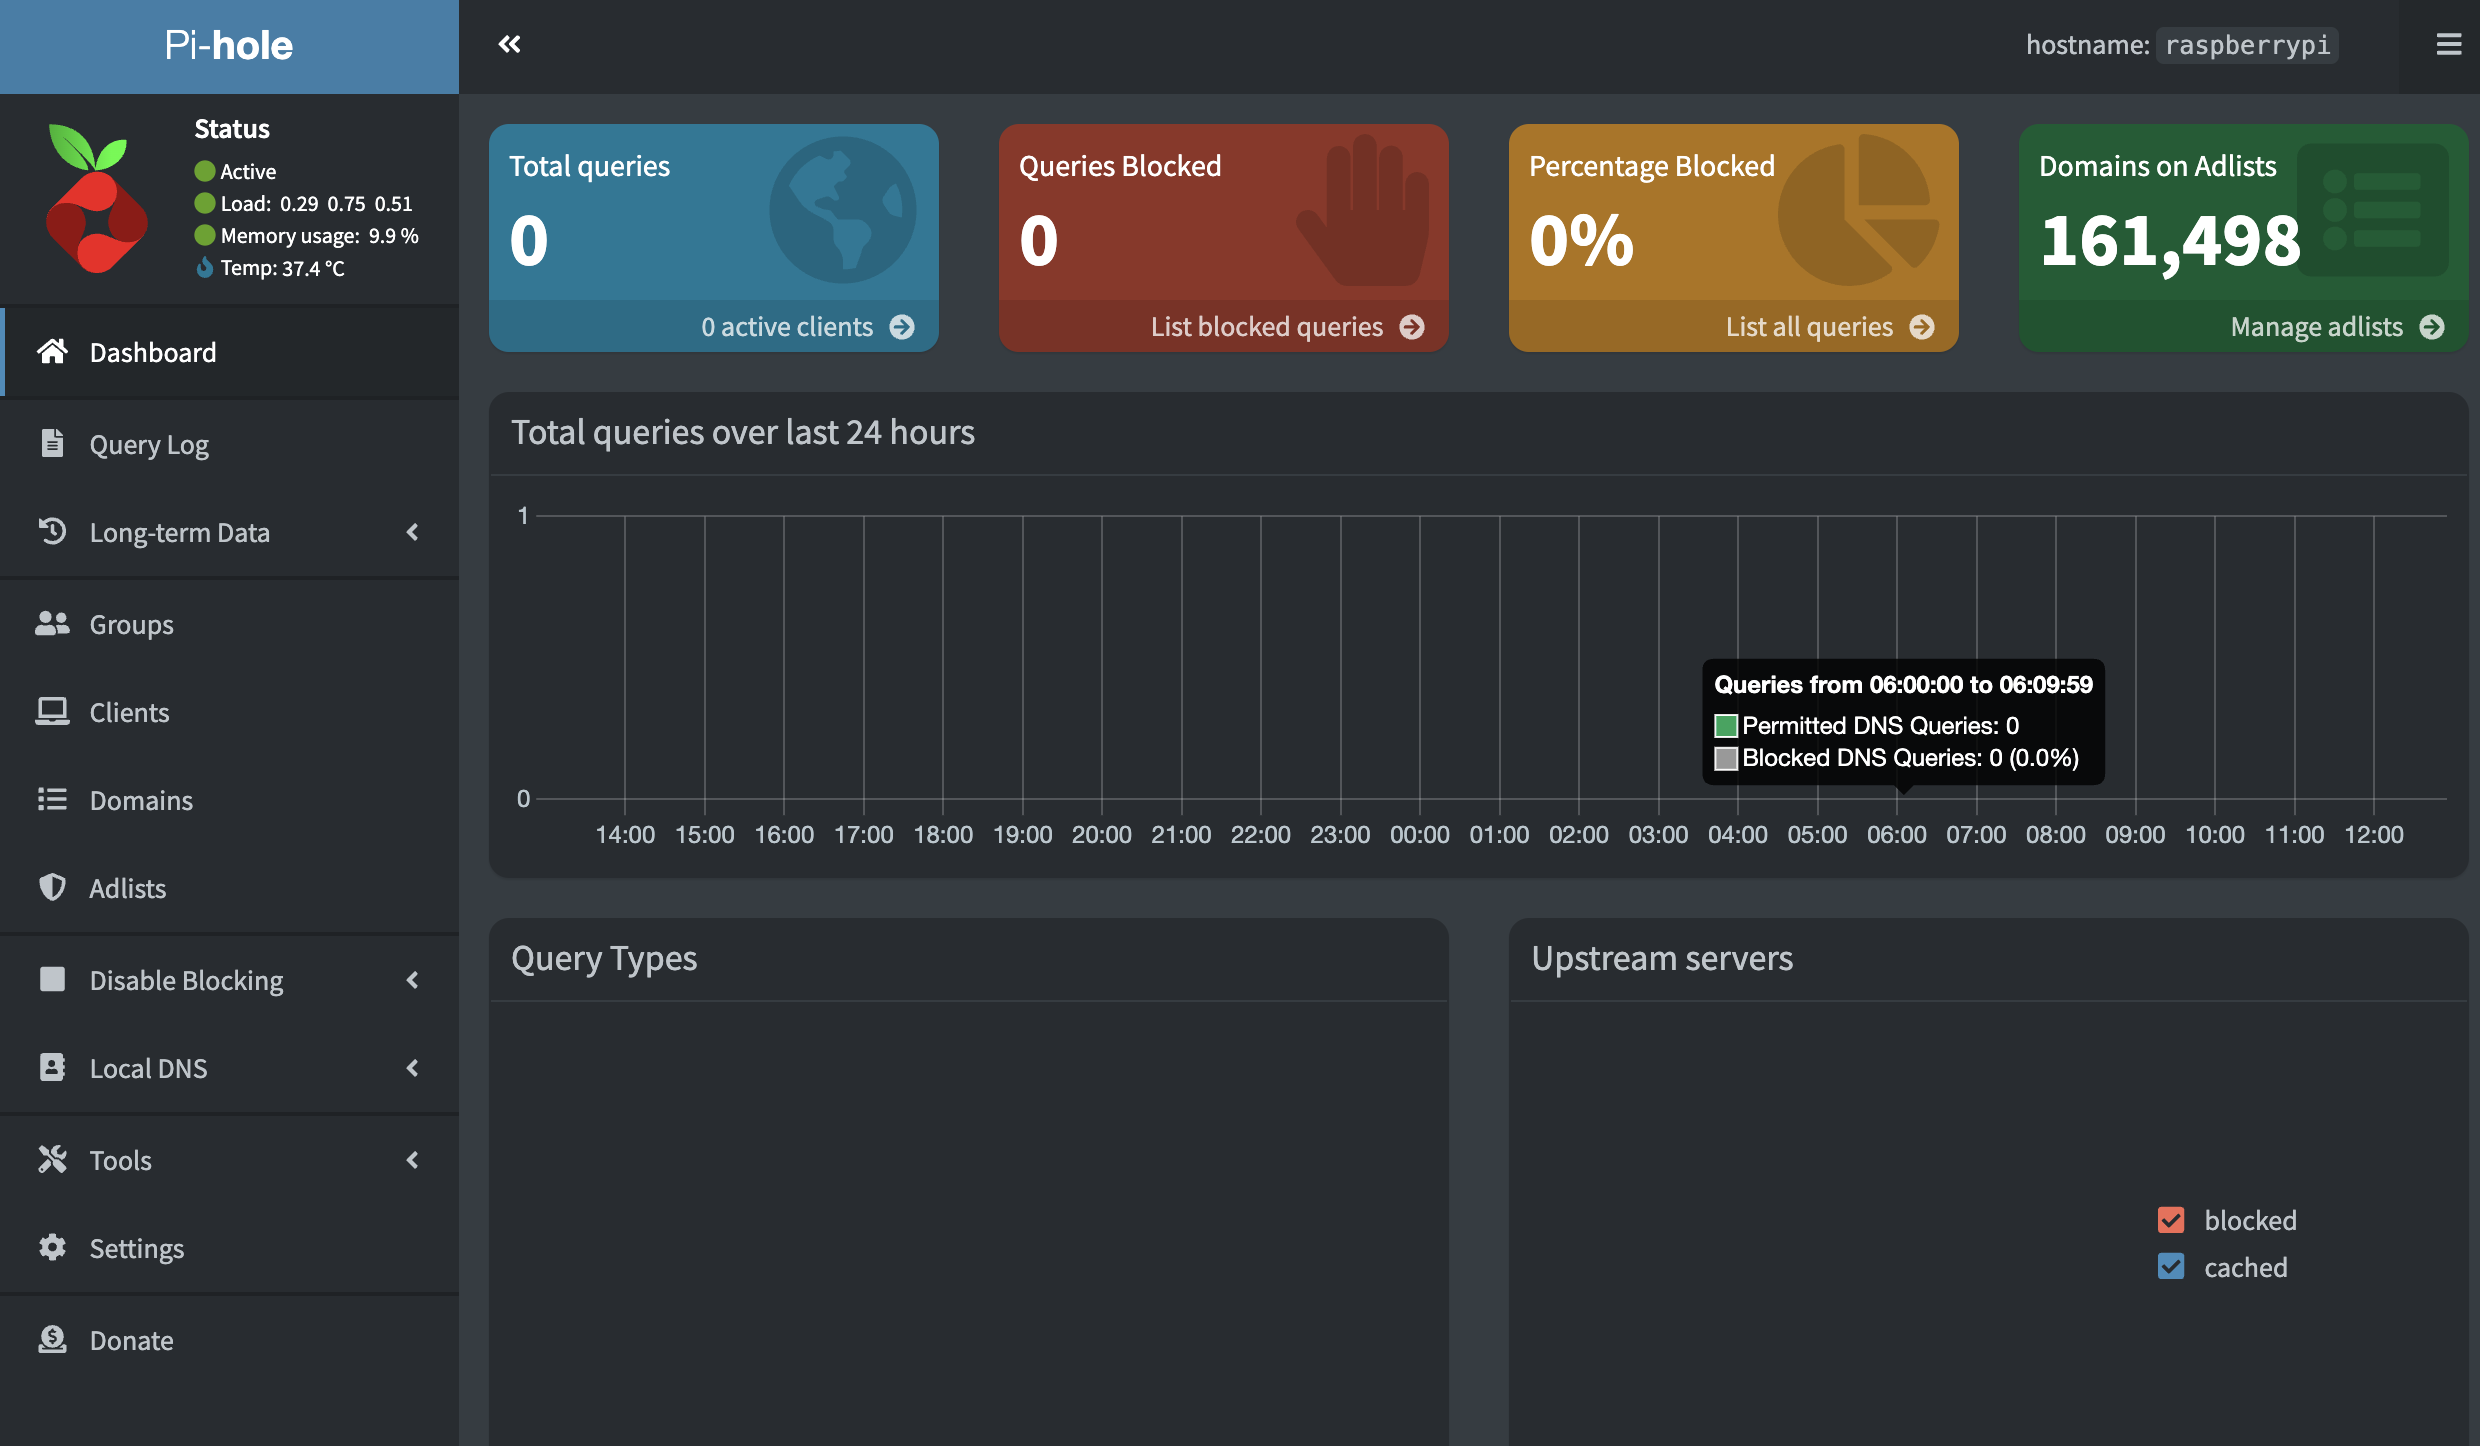
Write the admin password somewhere and checks everything is alright: http://your_pi_network_ip/admin
You should see something like this:
**Tailscale installation**
```
curl -fsSL https://pkgs.tailscale.com/stable/debian/bullseye.noarmor.gpg | sudo tee /usr/share/keyrings/tailscale-archive-keyring.gpg >/dev/null
curl -fsSL https://pkgs.tailscale.com/stable/debian/bullseye.tailscale-keyring.list | sudo tee /etc/apt/sources.list.d/tailscale.list
sudo apt-get update
sudo apt-get install tailscale
```
> Edit the file `/etc/sysctl.d/99-tailscale.conf` and add the following lines:
> ```
> net.ipv4.ip_forward = 1
> net.ipv6.conf.all.forwarding = 1
> ```
**Start Tailscale**
```
sudo tailscale up --accept-dns=false --advertise-exit-node --advertise-routes=192.168.68.0/24
# Get IP
tailscale ip -4
Reboot to make sure everything is fine
```
**Test**
Grab your phone and use a 4G/5G network for this test.
Connect to tailscale from your phone. Once connected (and your connection is approved in Tailscale admin panel) browser internet. It should not work. Now we are going to configure PiHole and let all interfaces connect to internet.
**Configure PiHole**
In the Pi-hole Admin page go to `Settings > DNS` and make sure that `Listen on all interfaces` or `permit all origins` is selected.
**Last Test**
Now that PiHole is configure make sure you are still connected to your Tailscale network. Browse any web page. You should be able to retrieve the internet content and it should have be delivered after PiHole has resolved the DNS. Go back to PiHole admin panel and you should see that the amount of total queries inscreased. You are all set.